- Download a PowerPoint Presentation,
- Download a copy of the Microsoft-signed Belcarra USBLAN for Windows Evaluation driver kit.
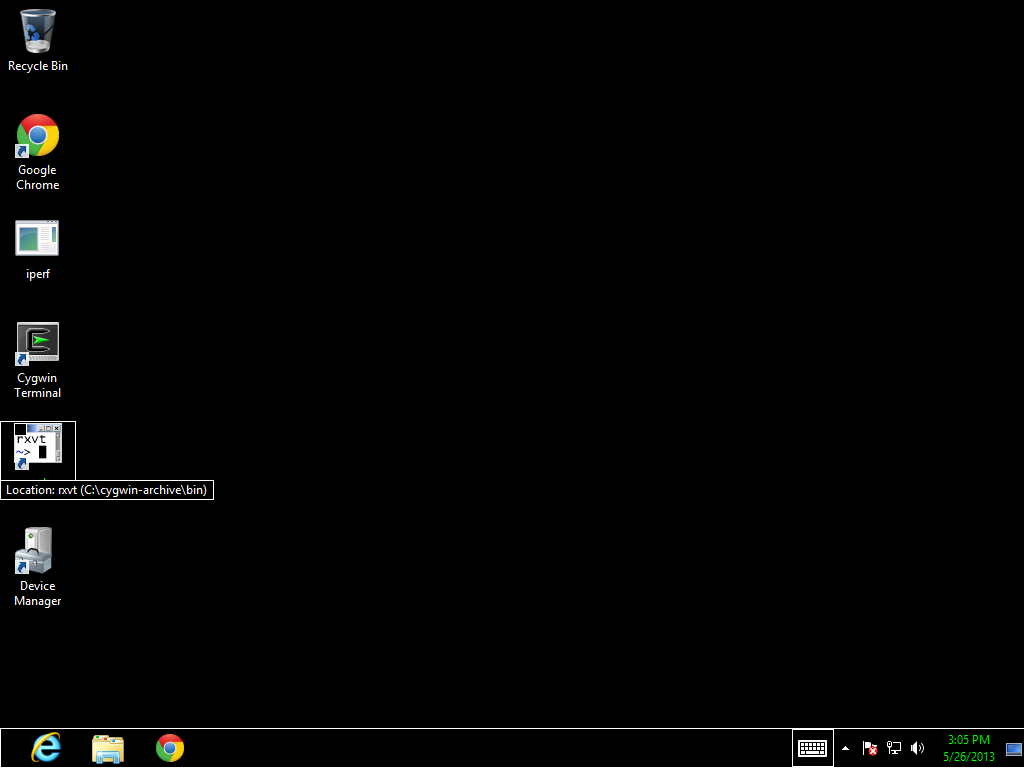
Next, run the Desktop
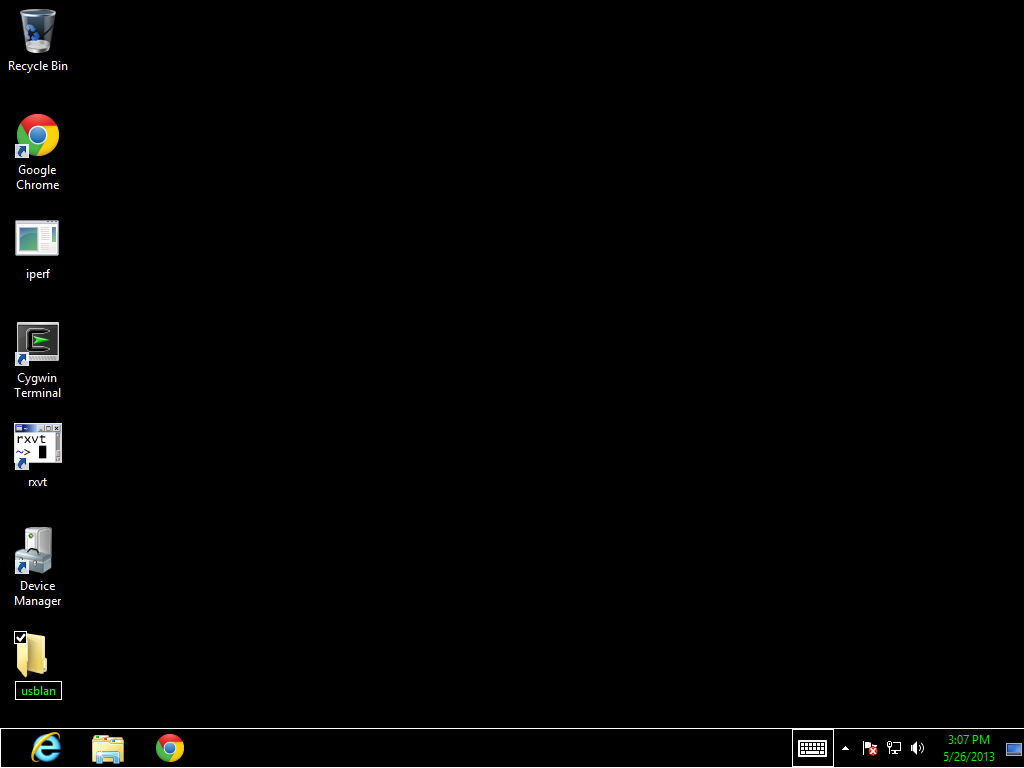
Once the Desktop is running, create a new directory. For this guide, the directory is called usblan but any name can be used.
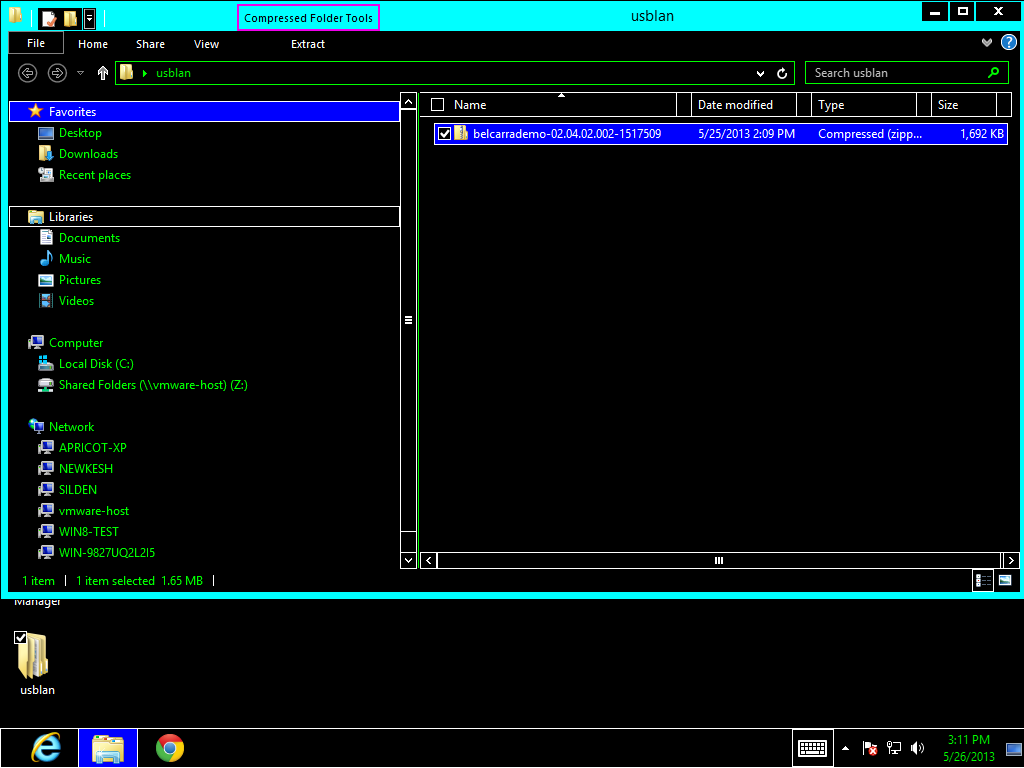
Now copy the Belcarra Demo (downloaded as above) archive into the new directory, and open this new directory with Windows Explorer
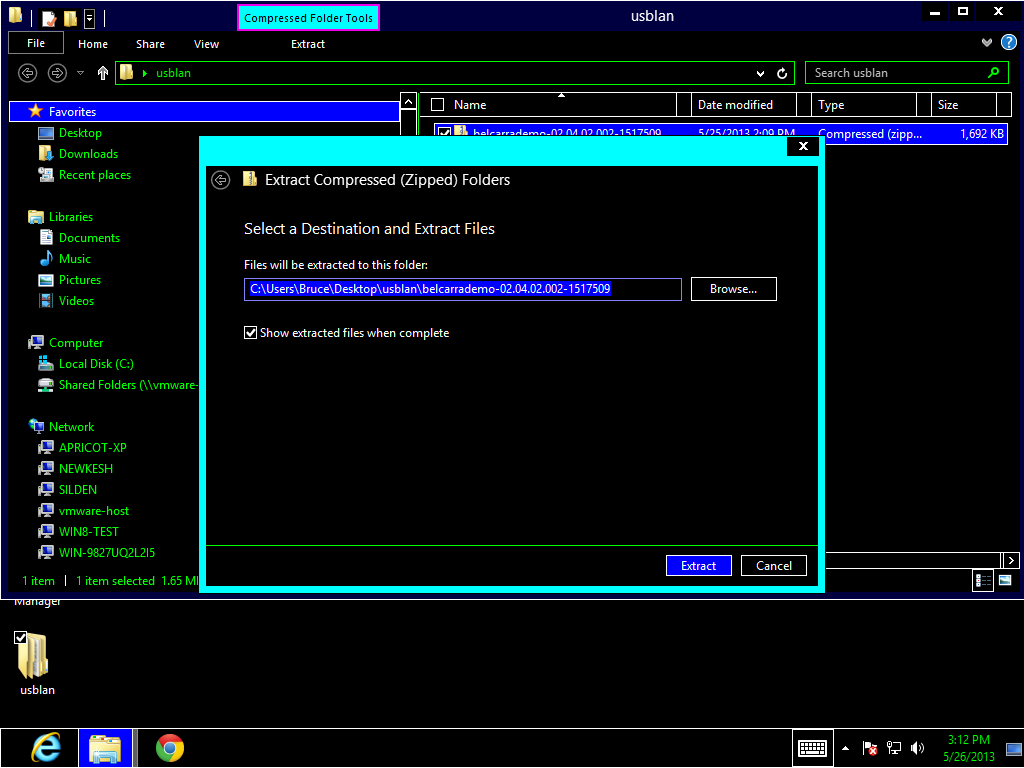
The highlighted value is the destination folder. For this purpose, the default is suitable. Therefore, simply click on Extract. This will produce the following:
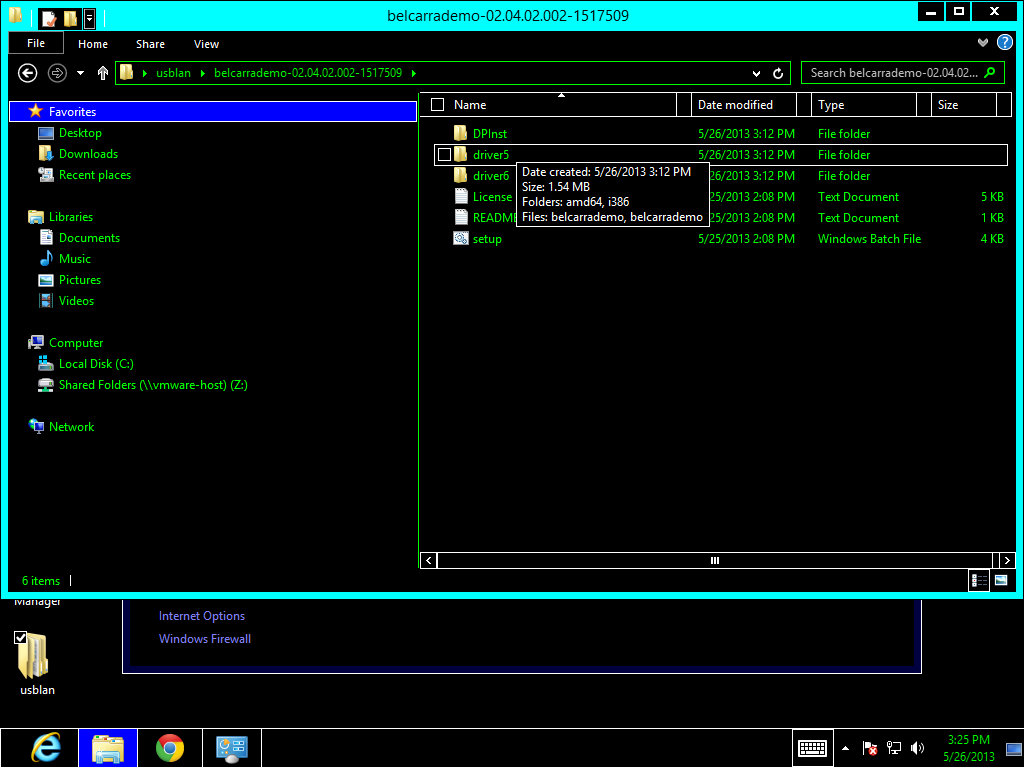
The file setup is the pre-installer. Double click on it. This will bring up the following dialog box.
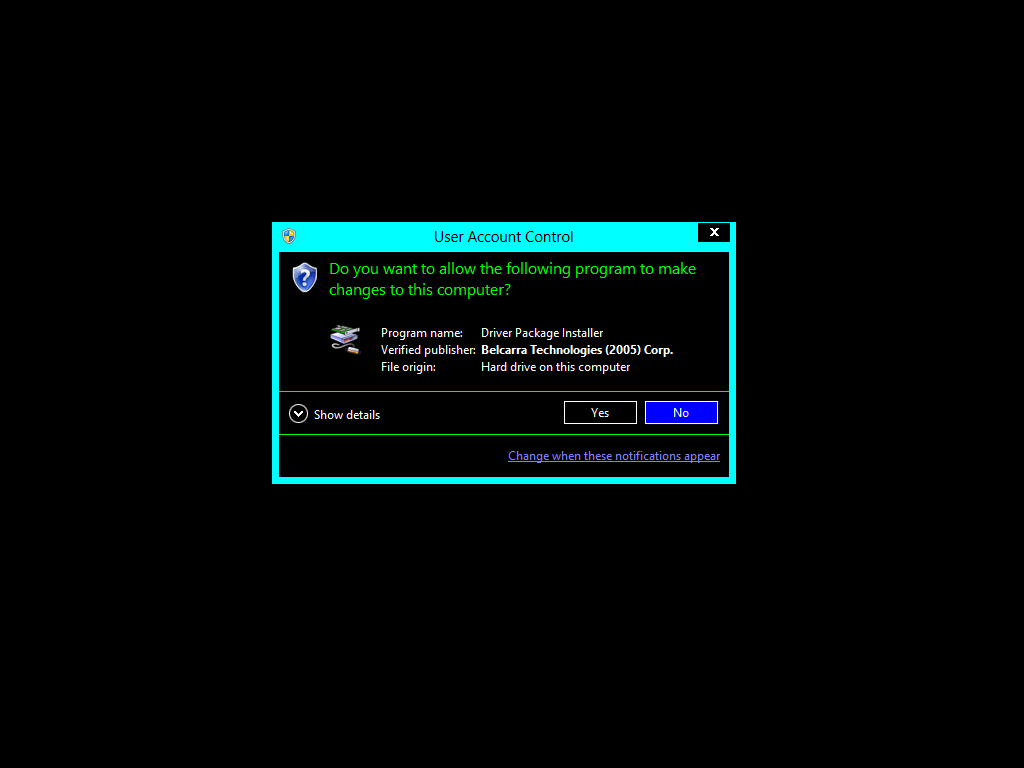
This dialog box asks your permission to run the driver installation wizard. Click on Yes and the Wizard will start.
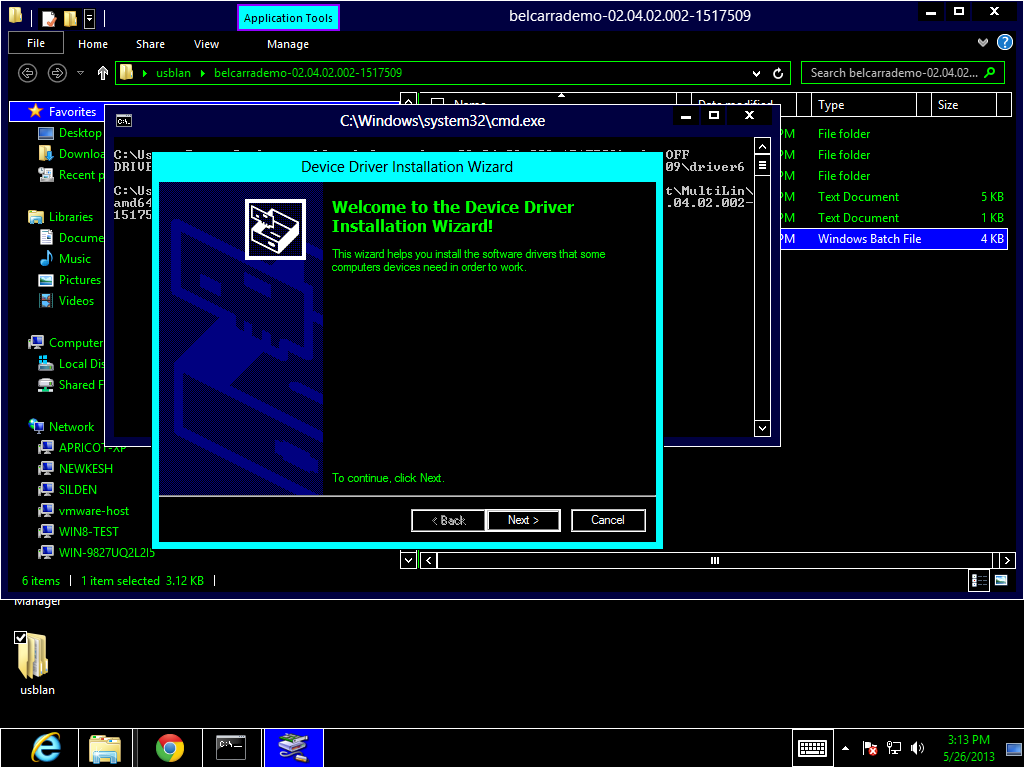
Click on Next to start the installation or Cancel to abandon the installation.
If you click on Next you will see some patience dialog boxes while the Wizard runs, and then this:
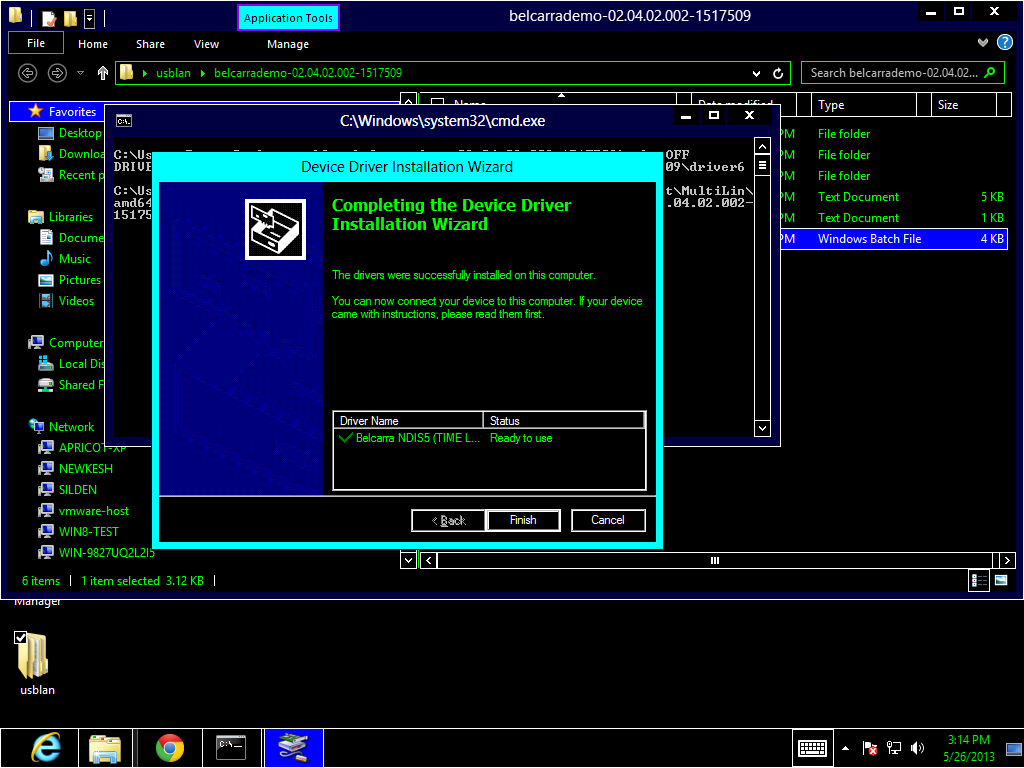
Click on Finish to end the Driver installation process. The windows still open can now be closed.
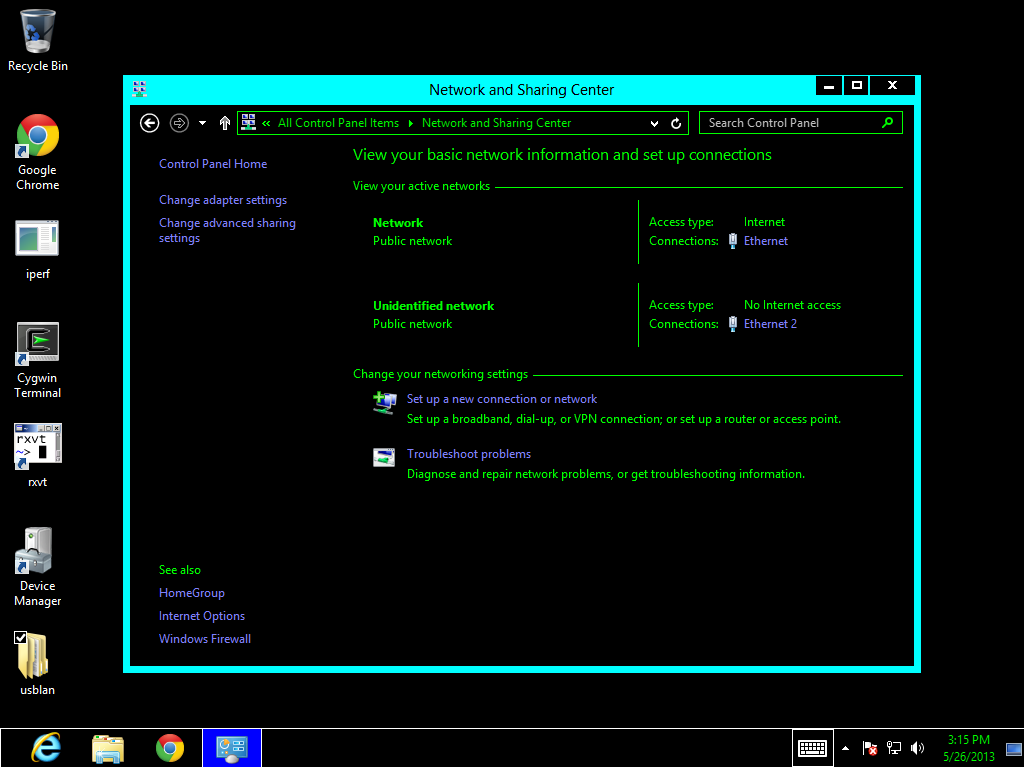
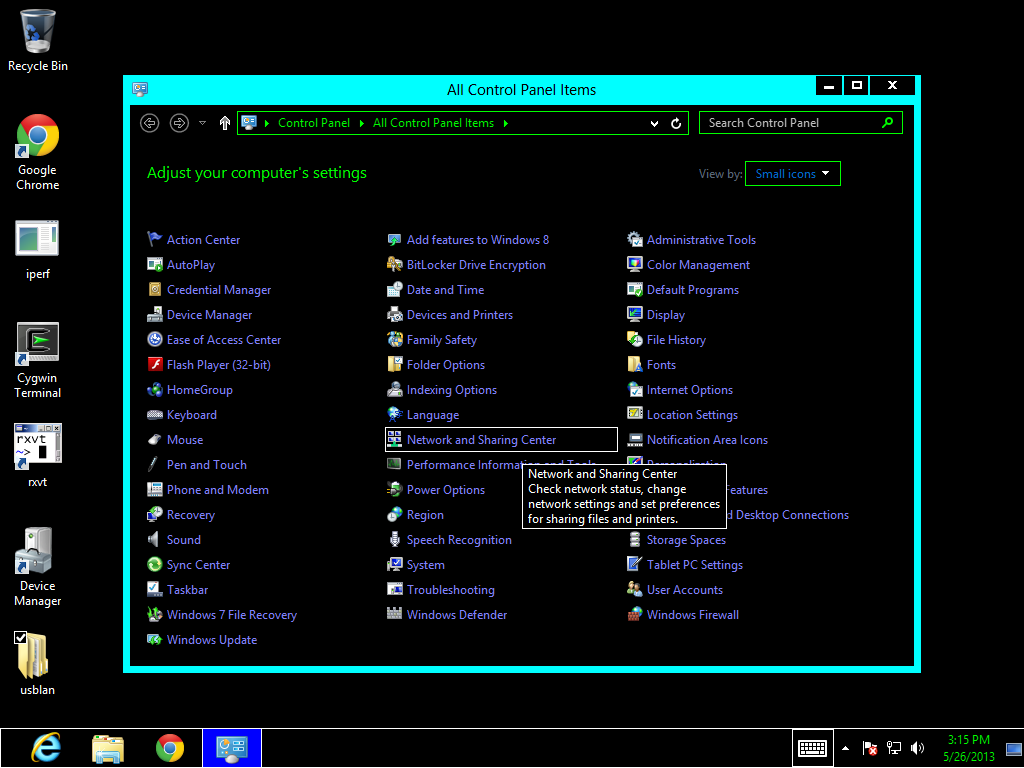
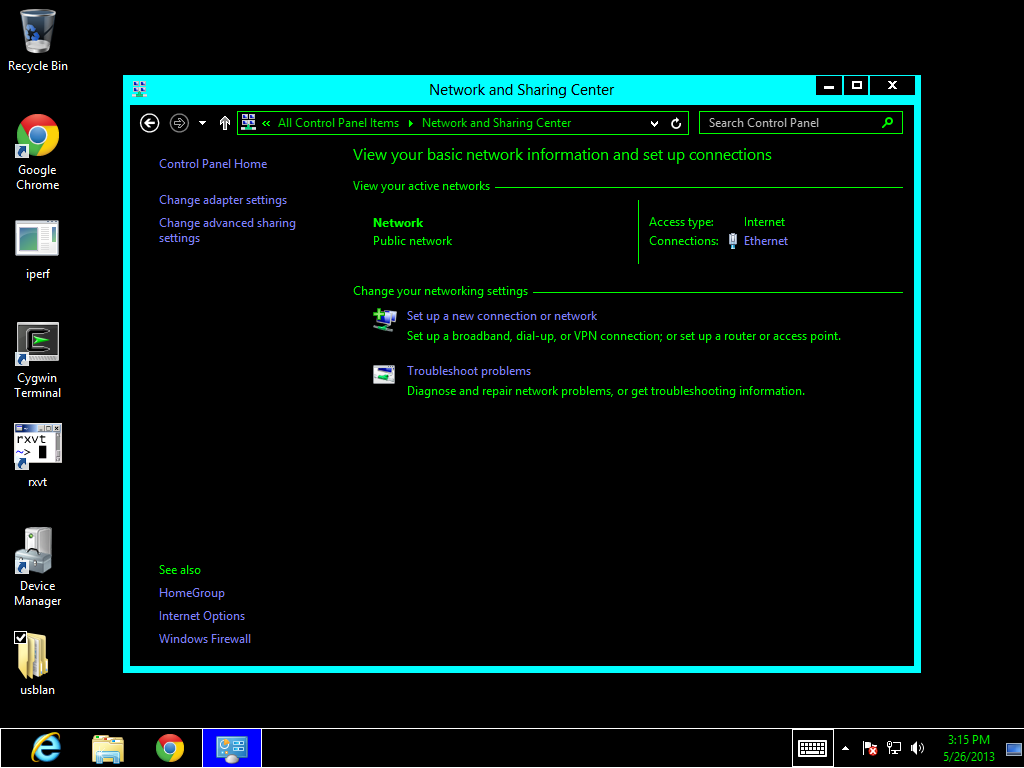
Now it is time to connect the device. Before doing this, bring up the Control Panel
Before connecting your device, check to make sure it is using one of the special Vendor ID / Product ID pairs supported by the demo:
Configuration
|
Vendor ID
|
Product ID
|
DHCP enabled
|
15ec
|
d031
|
DHCP disabled
|
15ec
|
d032
|